
Thursday, April 30, 2015
My Two Classmates Representing Boston College In California
Last week, Jeffrey Yi and Chris Choi, two of our classmates, competed for nearly half a million dollars in scholarship money. They traveled out to LA, all expenses paid, and played video games, representing BC, against other colleges, including Arizona State, seen in this youtube video: https://www.youtube.com/watch?v=y2nEqu4aSMA Also below is a screen shot of them. Great job, guys!!!
Final Project: Group State House
This is the GROUP rendition of the Old Boston State House, completed, during class, by my classmates and me. It is a final exercise from the Immersive Education course that I am taking at Boston College. The course is called Discovering Computer Graphics. For details, visit the immersive BC portal at http://ImmersiveEducation.org/@/bc
As we started constructing our building, there was a bit of a free for all. We went back to the place in Minecraft where we had built a platform last week. From here, everyone just started building the four walls, with everyone understanding that the outer dimensions were 12x39. We struggled with consistency in terms of the height, but as you can see, our final product came out pretty nice, not to mention we couldn't get our hands on anything that told us exactly how high the structure actually is. Here are a few early stage screen shots:


My original team member, Greg, was suffering from some major technical difficulties in terms of communication tonight, so I called him, put him on speaker, and stuck next to him for the most part to make sure I could relay messages from the rest of the class. So we inevitably ended up collaborating on a lot for this build. In the 2nd screenshot, you can see Greg putting the lower level of windows in. Then, we built the back door and surrounding windows, as seen below:


The last screenshot above is a nighttime view from afar during the build. From here, Greg and I went on window patrol. We placed the bottom sills below all the windows, and got to work simultaneously installing the dormers, or 2nd-story windows. We initially made them all brick, but with input from the rest of the class, decided to go with a sandstone top. It looks pretty sharp if you ask me.


Finally, here are some overview pictures. Nice work to everyone in my class, and I hope everyone enjoys our work!


Final Project: Local Old Boston State House for Review
This is MY OWN version of the Old Boston State House, not to be confused with the one we collaborated on last week in class (seen in old blog post). It is a final exercise from the Immersive Education course that I am taking at Boston College. The course is called Discovering Computer Graphics. For details, visit the immersive BC portal at http://ImmersiveEducation.org/@/bc
Here are periodic screenshots I took of the process I used to create my version of the Old Massachusetts State House, found in downtown Boston, relatively halfway between Faneuil Hall and Government Square. Please note that the I grouped the screenshots together and the explanations for each group comes AFTER the images.


The first 5 screenshots (above) are the nitty gritty, framework of the State House. I cleared out enough shrubbery on a flat enough piece of land to put down the foundation. I went with the figure we discussed last week in class: 12 wide by 39 long. Then, for the height, I went with 13 cubic meters high to the lowest part of the roof, tapered up to the crest (seen in final screenshots below) at 16.5 cubic meters.


The 3 screenshots seen above are the installation of windows, with the final shot being the finished product from slightly above. I paid extra close attention to make sure everything was symmetrical here.


My next 2 screenshots, seen above, are the steeple. I started off with a 6x6x3 cube as the base, then tried to get a little fancy with the 2 layers after that, all the while making sure that each subsequent layer was centered and even.


Here are the 3 pictures I used as a reference, with the middle one being of the rear of the building. Hope you enjoy!
Thursday, April 23, 2015
My Final Area
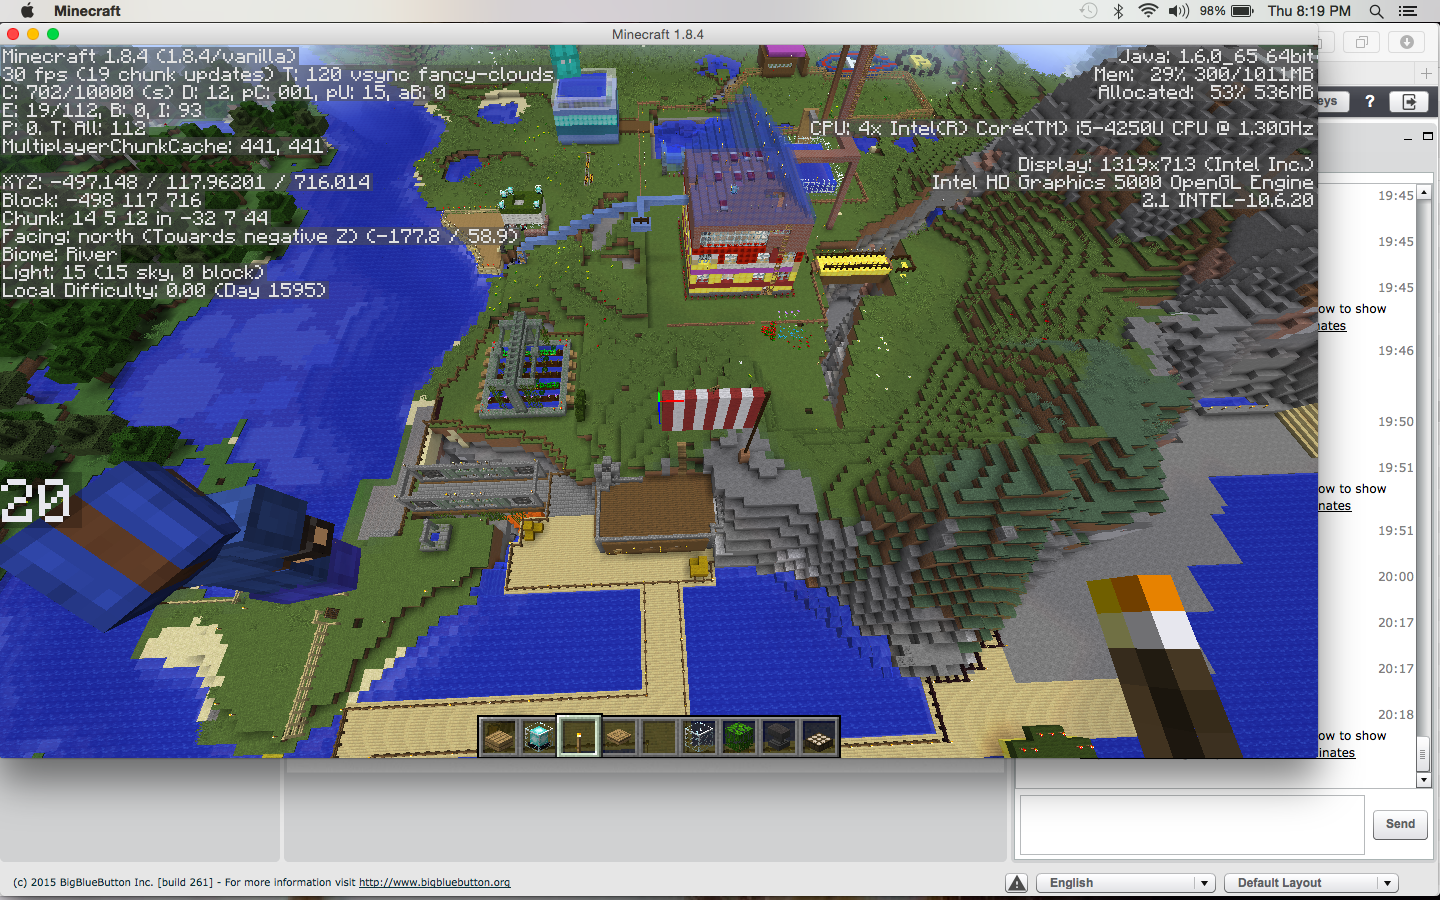
For one of our final projects in the computer graphics course I am taking, we are recreating the old state house in downtown Boston using Minecraft. As we found out the hard way in class tonight, it can be difficult navigating through a realm and finding other people or areas. However, by taking note of the coordinates where we are building in a screenshot, we will be able to get back to where we need to be next class. The coordinates to this area in minecraft are (-490, 77, 850). Here are a couple screenshots of the area where we are building, as well as a link to an article describing the significance of coordinates in Minecraft (Here).


Class 12: How 3D Computer Graphics Work
For this assignment, we have to explain how 3D graphics work, taking a list of terms associated with 3D graphics, one by one, and defining them as they pertain. I am going to take these terms in groups of three or four and explain their independent definitions as well as their relations to the other terms. First, we have 3D Geometry. 3D geometry is something we have learned from the very first time our parents had us place different-shaped puzzle pieces into their corresponding slots in our cribs. It is one thing to see a circle two-dimensionally, but when we see it as a 3D sphere, THAT is an advance in 3D geometry (See figure 1).
Figure 1:

The second term(s) we have is "vertex points." For this definition, I go back to high school geometry when we learned about 90 and 45 degree angles, just to rattle off two different examples. For this example (Figure 2), I have chosen a 45 degree angle, illustrating that the vertex is the exact point where the X and Y vertices intersect. Which also brings me to the third term to define: vertices. Vertices is just the plural of vertex. So in terms of 3D graphics, a 3D pyramid would have several vertices, as seen in Figure 3. Fourth, we have the term "vector." When it comes to 3D graphics, a vector is essentially the 2D figure that, when combined with other 2D graphics, creates a 3D graphic. For example, each 2D triangle that is a side of a pyramid IS a vector (Figure 4).
Figure 2:

Figure 3:

Figure 4:

Next, we have the term "polygon." A polygon is ANY shape or figure that is connected, or made whole, by nothing other than straight lines (See Figure 5). Which leads to the next term, "polygonal mesh." Polygonal mesh is a collection of different vertices, vectors, and figures (2D) that, when put together, give the illusion of a 3D object (See Figure 6). The example in Figure 6 is made out of all triangle vectors.
Figure 5:

Figure 6:

Next, we have the term "normal" as it is related to 3D computer graphics. Just as we used to learn about tangent lines in geometry, a "normal" is essentially the same thing, but three dimensional (Figure 7). A normal, if connected to the Y axis, is a perfect 90 degree angle from the tangent at any point on said plane.
Figure 7:

Finally, we have lighting, shading, and texture mapping. All three of these terms play in to each other. For example, The lighting in Figure 4 (pyramid) is coming from the right hand side of the image, and the shading is exemplified by the darker left hand side. TOGETHER, these two aspects of 3D graphics come together and help with texture mapping. Below (Figure 8) is an example of a 3D model without texture mapping (1) versus a 3D model with texture mapping(2).
Figure 8:

Subscribe to:
Comments (Atom)